
 Tanuki’s Store • Prints, tools, and recovering service!
 Contact Us • Subscribe to Tanuki’s newsletter
  Resources • Printmaking and other links
See store for Prints! |
Tools: Buy two- free shipping! |
|
|
|
Tanuki’s Store • Prints, tools, and recovering service! Contact Us • Subscribe to Tanuki’s newsletter Resources • Printmaking and other links
See store for Prints! |
Tools: Buy two- free shipping! |
|
|
|
“We take great pride in what we do creating beautiful and meaningful woodblock prints by hand– the way the old Japanese masters did”

Tanuki Prints use the same centuries’ old traditional printmaking techniques of the famous Japanese ukiyo-e period such as Hiroshige’s “Sudden Shower Over Ohashi Bridge”, 1857 (right).
Japanese-style woodblock or mokuhanga printmaking is a labor-intensive high-touch process that involves using multiple woodblocks and hand-printed with water-based inks on hand-made mulberry paper.
Learning these refined skills take decades of practice in order to get it right. Tanuki Prints strives to combine the most engaging imagery with best materials available in order to create museum-quality art that will truly last for generations.

Please scroll down for a ‘nutshell’ version of the woodblock printing process.


Tanukis are often called Japanese “raccoons” or “badgers” even though they are most closely related to dogs and foxes.
The mythological tanuki has many special powers and is considered a potent good luck symbol. In folklore, tanukis were shape-shifters whose disproportionately large scrotum had magical powers. You often see statues of tanuki-san positioned in front of bars. He holds an alluring sake gourd while beckoning passersby to come join him for a friendly drink- it is considered bad luck if you do not accept his generosity!
Still curious about Tanuki-san? Everything you ever (or never) wanted to know about tanuki is here.
In addition to you, the customer, proprietor John Amoss has been teaching printmaking and making woodblocks for over 25 years and has worked as a guest print maker in Tokyo. John’s prints have been exhibited in North America, Europe, Asia, Oceania, and Africa. He has won several awards; and are included in permanent collections around the world.
John is married and has two sons. He is also a member of the band, The Hobohemians, enjoys long-distance backpacking, and is an Appalachian Trail thru-hiker, 1980.
Gallery representation: The New Leaf Gallery, Keene, NH and Artelino GmbH, Icking, Germany

 Tanuki Prints Lair and workshop (it’s actually a lot messier than this).
Step-by-step
(1) 0:00>0:17- Applying ink and paste the the carved woodblock
(2) 0:18>0:23-Positioning the paper in registration marks (kento)
(3) 0:27>0:45- Using a baren to apply pressure to make the impression.
Repeat this process 32,000 times for the Appalachian Trail Series!

< There are many preparations that need to be made for woodblock printing (moku hanga)- here printing brushes (maru bake) are being softened using a shark skin in the traditional manner.
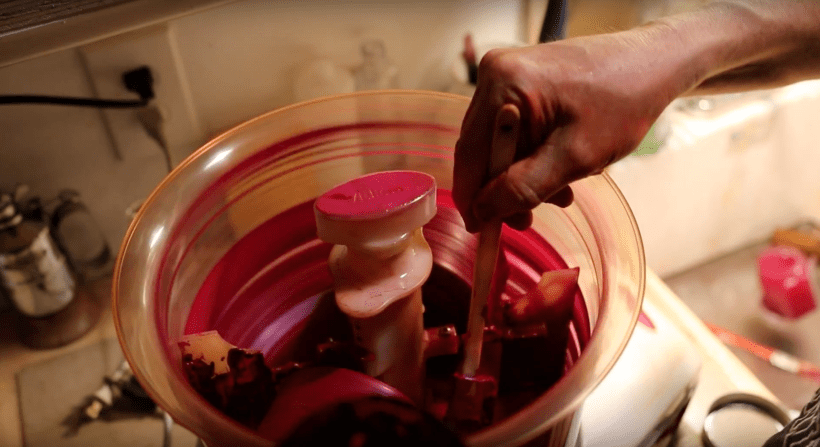
> A variety of natural dry pigments are mulled with water to make environmentally-friendly inks. Home-made pure pigment inks results in the most saturated colors.

< Starch paste is prepared. Paste (nori) is used in varying degrees along with the ink as a way to keep pigment particles in suspension resulting in smooth printing.

> Recovering the hand-made printing pads (baren) with new bamboo skins.

< A variety of woodblock carving tools need to be sharpened on a waterstone.

< An initial drawing/design is created (in this case for the Appalachian Trail Series design “Vermont”) using a dry erase board which allows for easy drawing and erasing.

> A photo of the drawing is then taken, flipped horizontally, and printed out. The image is inked by hand and scanned.

< Color separations are created using the computer. This process helps to decide which colors are to be used and how many blocks are to be carved.

> One quarter-inch thick cherry wood facing is laminated onto blocks using waterproof glue. It requires on the average 11 blocks per design.

< The laminated cherry blocks are planed, then sanded four times using a variety of grits, next they are wet-sanded to raise the wood grain, dry-sanded, then buffed smooth.

> Each block is carved using both hand and mechanical processes. Most prints average 20 colors each- one block can be used for more than one color.

< Sized (coated with dosa, or glue) hand-made mulberry paper (washi) from Japan is cut to size along the paper grain.

> The paper is brushed with water and kept damp during the printing process- this allows the pigment to be better absorbed by the paper.
< Print like crazy and then dry the prints.

> Hand-made paper and fabric are combined to serve as a protection. The bound presentation case allows the 8″ x 10″ prints to be easily removed for display and framed in standard-sized frames.

